Tools
Develop
In the app, every tool's ⋯ menu ▸ Help opens its section here; hover any slider for a short explanation.
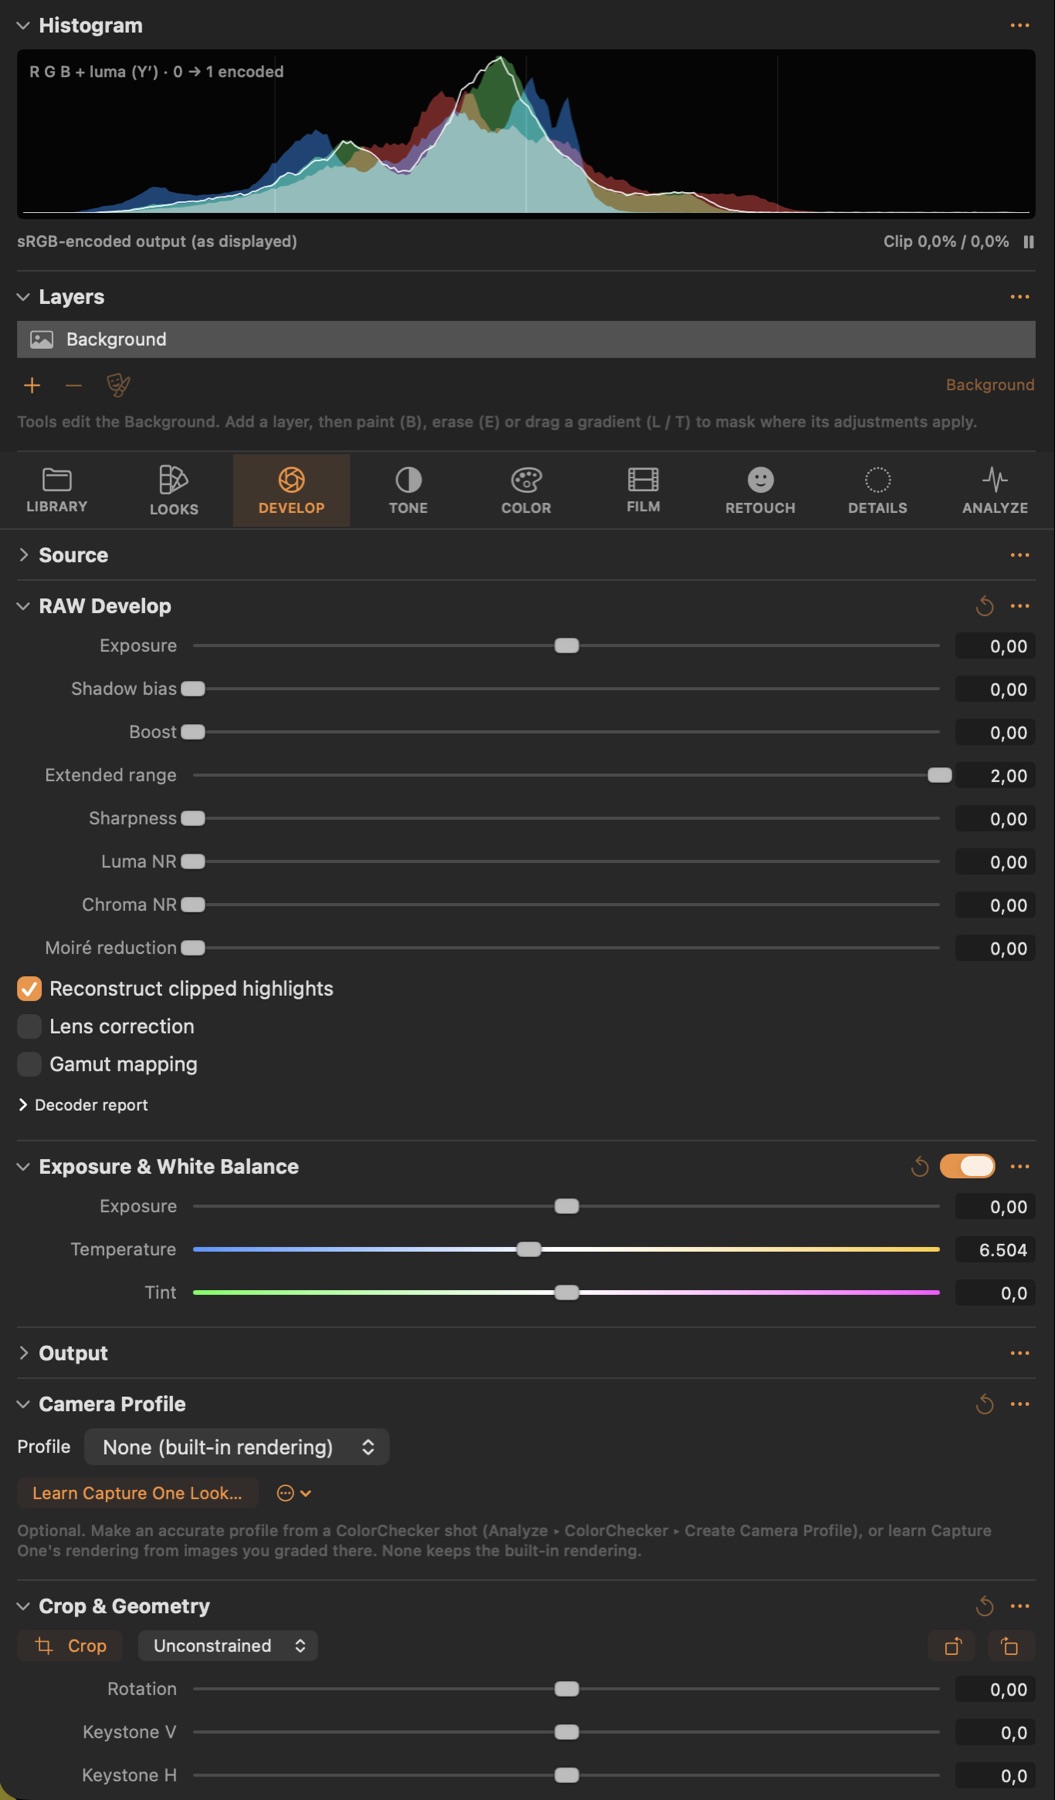
Source
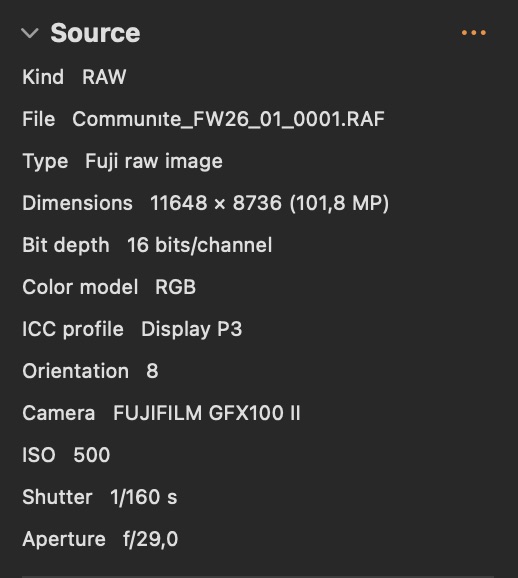
#How the image was opened and how its pixels are interpreted (input transform).
Good to know
- Shows how the file was opened and lets you choose the input interpretation for non-RAW images.
RAW Develop
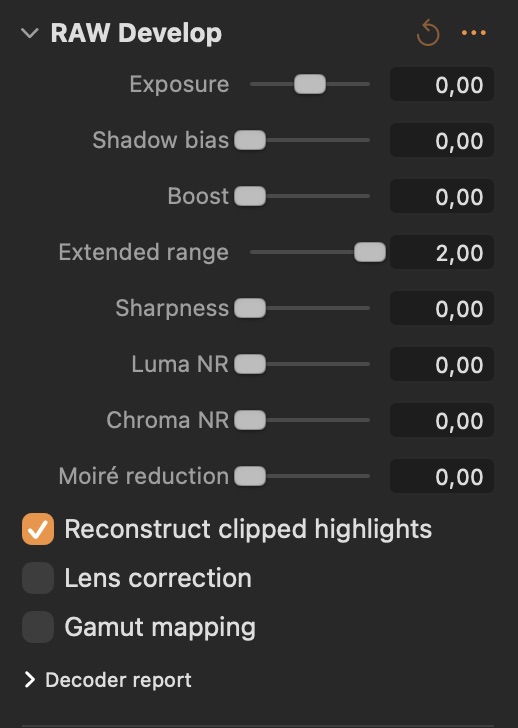
#RAW decoding: demosaicing, highlight reconstruction and the decoder's own options. Changes re-develop instantly.
Good to know
- Changes re-develop instantly from the cached RAW data.
- Keep Reconstruct clipped highlights on to avoid magenta highlights.
Camera Profile
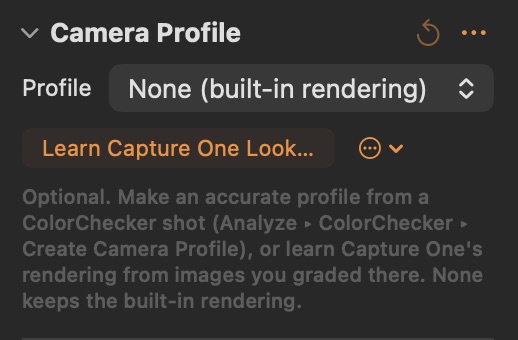
#Optional camera profile: a measured ColorChecker profile or a learned Capture One look. None keeps the built-in rendering.
Good to know
- Learn Camera Looks… is the route that works for every camera without any licence: the selected RAW files are grouped by the film simulation / picture style in their maker note (Fujifilm film modes are read directly), one profile per look is learned from the camera's own embedded JPEGs and named after it ("FUJIFILM GFX100 II – Classic Chrome"), and from then on an unedited image opens with the look it was shot in (Settings ▸ Color ▸ Camera looks). This is how Adobe builds its camera-matching profiles too; Capture One licenses Fujifilm's data instead.
- Two more legal sources of camera profiles: Adobe Profiles lists the DCP files Camera Raw, Lightroom or the free Adobe DNG Converter installed on this Mac for the current camera (Adobe Standard, Camera Matching such as Provia / Velvia / Portrait …) — importing converts one into an app profile (its hue / saturation tables and tone curve are applied on top of the decoder's colorimetric base; nothing is bundled or redistributed, the sandbox may ask you to locate Adobe's folder once). Learn Camera JPEG Look… fits a profile to the JPEG preview the camera embeds in your own RAW files, i.e. the film simulation or picture style the camera was set to.
- None keeps the built-in rendering. Profiles are stored with each image, so exports and thumbnails use them.
Crop & Geometry
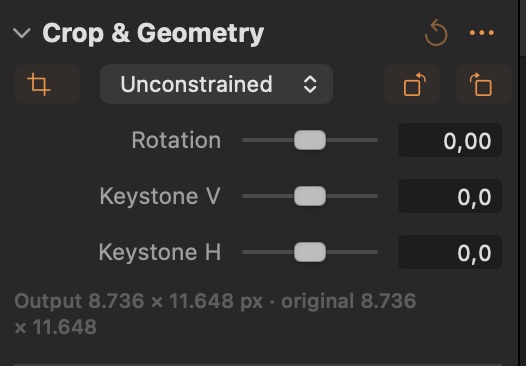
#Crop, straighten, 90° rotation and keystone (perspective) correction.
Parameters
| Parameter | What it does |
|---|---|
| Rotation | Fine rotation in degrees; the crop shrinks to stay on the image. |
| Keystone V | Corrects converging verticals (buildings leaning back). |
| Keystone H | Corrects horizontal perspective. |
Exposure & White Balance
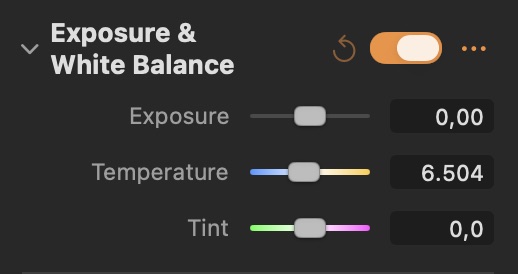
#Exposure in stops and white balance (temperature and tint), in scene-linear light.
Parameters
| Parameter | What it does |
|---|---|
| Exposure | Exposure in stops (EV) applied in linear light: +1 doubles the light. |
| Temperature | White balance: the colour temperature of the light in the scene. Higher values warm the image. |
| Tint | White balance: green (−) / magenta (+) correction. |
Output
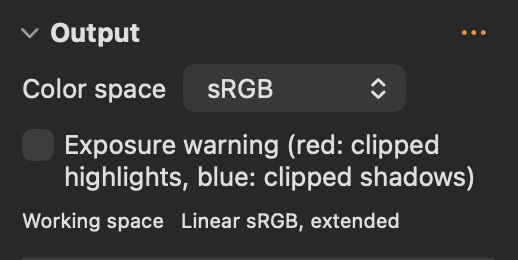
#Output colour space of the preview and exports, and the exposure warning.
Good to know
- The output colour space for the preview and exports. Exposure warning: red = clipped highlights, blue = clipped shadows.
- Soft proof: choose a printer / paper ICC profile (installed ColorSync profiles are listed, or any .icc file) and switch Soft proof on (⌥⌘Y) to see the image as that profile reproduces it. Gamut warning (⇧⌘Y) greys the colours it cannot hold. Exports are never changed by soft proofing.