Export
Recipes describe how files are written; every ticked recipe is exported for every selected image.
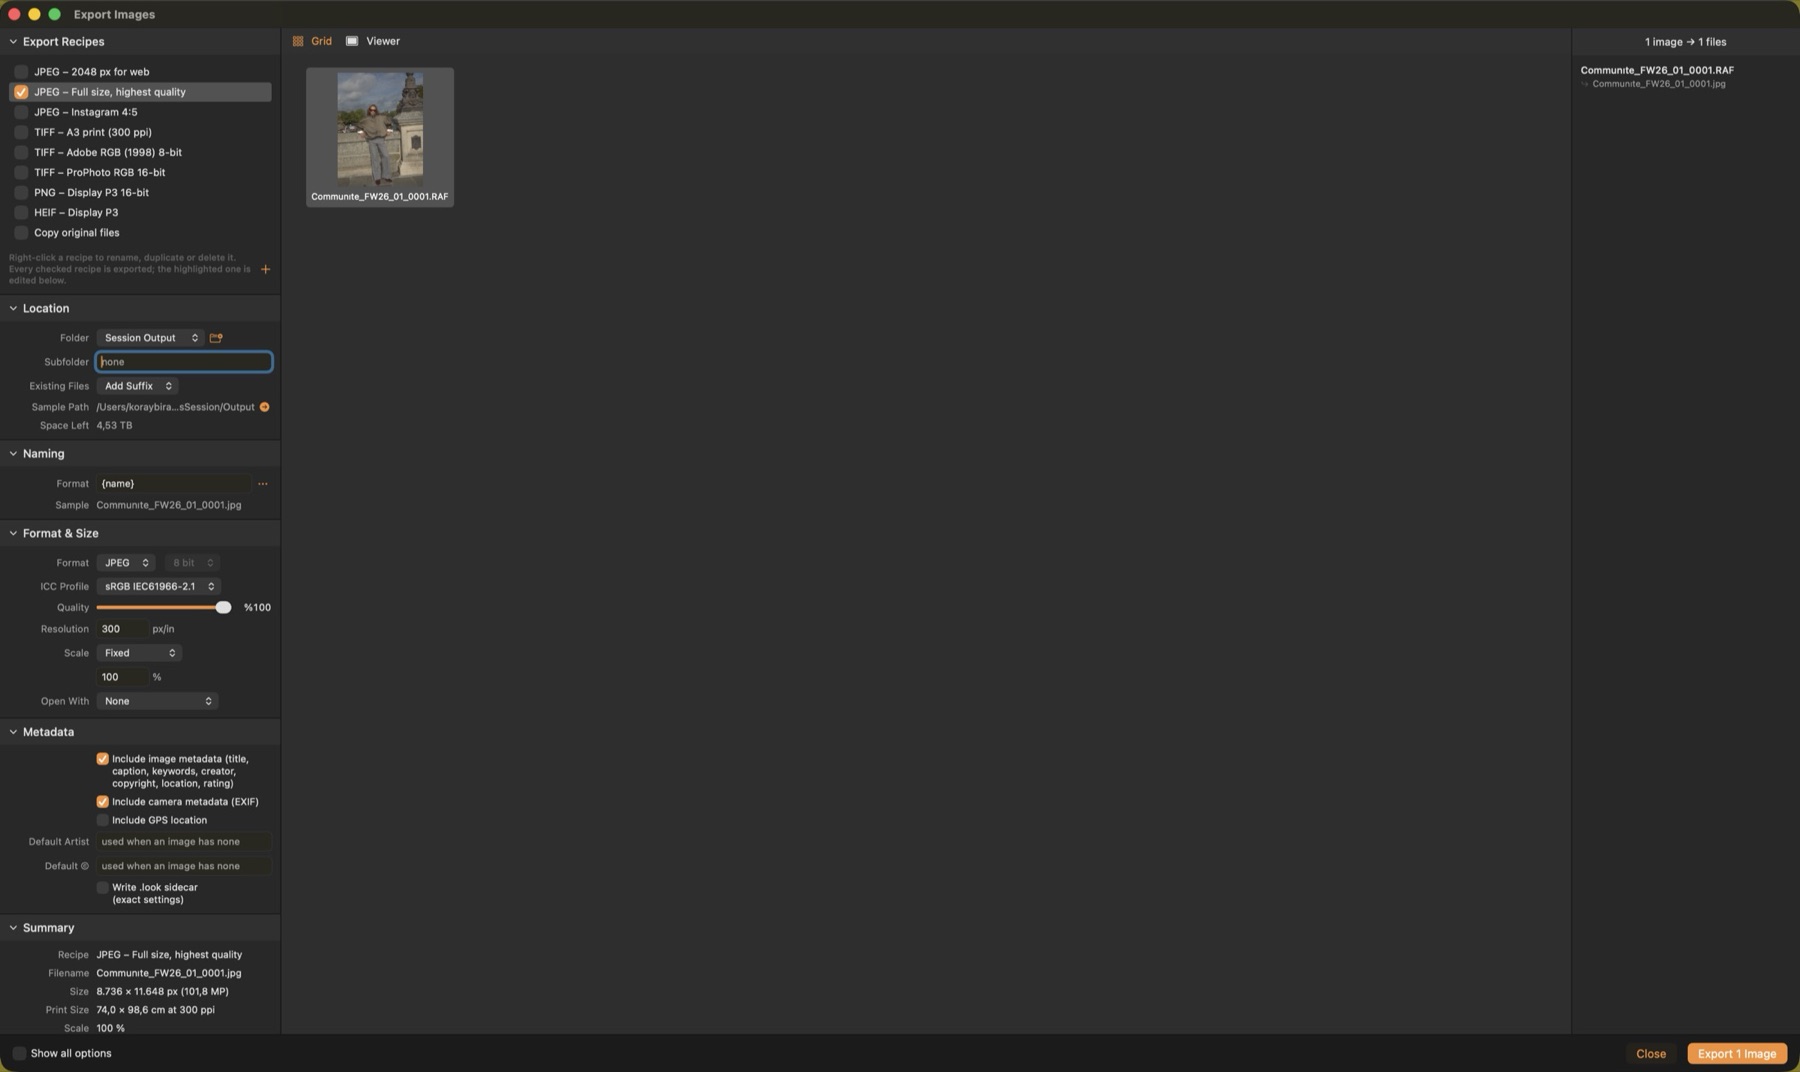
Recipes
Built-in recipes cover web JPEG, full-size JPEG, Instagram, proofs, print TIFF, ProPhoto TIFF, PNG and HEIF. Right-click a recipe to rename, duplicate or delete it; + adds a copy.
Location & naming
Export to the session's Output folder, next to the original or to any folder, with an optional subfolder. Names use tokens such as {name}, {counter}, {date}, {recipe} and {rating}.
Format & size
JPEG, TIFF (8/16-bit), PNG (8/16-bit) or HEIF; ICC profile sRGB, Display P3, Adobe RGB (1998) or ProPhoto RGB; scale by percentage, long or short edge, width, height or a box; resolution in ppi.
Metadata
Image metadata (title, caption, keywords, creator, copyright, location, rating) and camera EXIF can be included; GPS is optional.
Watermark
Each recipe can add a watermark: text (© Your Name, the file name …) or a PNG logo, in any corner or centred, with size relative to the image and an opacity, so it looks the same at every export size.
HDR output
The Rec. 2100 PQ (HDR) profile keeps highlights above diffuse white (203 nits) instead of clipping them. Use 16-bit PNG or TIFF, or HEIF; HDR-capable viewers and phones show the extra range.
Proof gallery
Image ▸ Share Proof Gallery… renders the selected images into a self-contained web page with ratings, colour tags and comments. Share on the local network lets a client on the same Wi-Fi rate from a phone, and their picks arrive live; otherwise send the folder and import their picks.json.
Compare board and PDF
Image ▸ Add to Board (⌥⌘B) collects images in the Board window, where you order them and export a PDF contact board with captions.
LUTs and looks
Export LUT (⌥⌘E) writes a colour-only .cube LUT, validated against the real pipeline. Spatial effects (grain, glow, clarity, vignette …) cannot be part of a LUT and are listed. Looks can be exported as .look files for the iOS camera.
Video: clips in the session's folders (or imported with the Import window) sit in the browser next to the stills with a film badge and their length; each keeps its own grade. Open one (or any clip with ⌘O) and a transport bar appears under the frame — step frames with ← →, scrub with the slider, timecode and the clip's format on the right. Grade the frame with every tool (spatial effects excluded from the LUT), then Export LUT: the sheet pre-selects Apple Log input for Apple Log clips and sRGB display-referred otherwise, and says where to apply it in the editor. HDR clips are tone-mapped to SDR for grading.