Tools
Layers
In the app, every tool's ⋯ menu ▸ Help opens its section here; hover any slider for a short explanation.
Tools in this tab:Layers
Layers
#Adjustment layers: exposure, white balance, highlights / shadows, clarity, hue / saturation, colour balance and colour editor applied through a painted, gradient or luma-range mask.
Parameters
| Parameter | What it does |
|---|---|
| Opacity | How strongly the layer's adjustments show through its mask. |
| Feather | Softens the edges of the painted mask. |
| Low | Output level below which the layer fades out. |
| High | Output level above which the layer fades out. |
| Softness | How gradually the luma range fades at both ends. |
| Size | Brush diameter as a percentage of the short side ([ and ] change it). |
| Hardness | Edge of the brush: 0 soft, 100 hard. |
| Flow | How quickly a stroke builds up to its opacity. |
Good to know
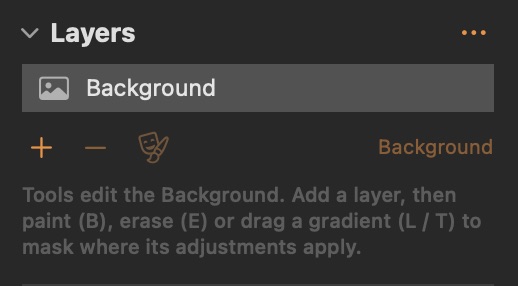
- The Layers tool is pinned above the tabs. Background is the image itself; + adds an empty layer (mask covers nothing) or a filled layer (mask covers everything).
- With a layer selected, the Exposure & White Balance, Highlights & Shadows, Clarity, Hue & Saturation, Colour Balance and Colour Editor tools edit that layer, relative to the Background; a banner at the top of the tab reminds you. Every other tool keeps editing the Background.
- Masks: paint with the brush (B), erase (E), drag a linear (L) or radial (T) gradient, limit the layer to a brightness range (Luma Range), feather the painted mask, or invert it. Create Mask from Image (in the mask menu of the Layers tool and of each layer in the Layer Tools panel, or + ▸ New Layer with Mask) builds the mask from the picture: Subject, Background, Sky, or Skin / Eyes / Lips of the detected faces. While a layer is selected, the tools that only edit the Background are hidden. While you paint or erase, the mask overlay is shown and the stroke follows the brush live; a right-click in the viewer with the brush or eraser opens the brush settings (size, hardness, opacity, flow) at the pointer. Select Object by Clicking (in the mask tool menu of the toolbar, the Layers tool or a layer's Mask menu) works like a magic wand: a click selects the area of similar colour around it — a wall, the sky, a bag, a garment of one colour — with a Tolerance slider (right-click in the viewer, or in the Layers tool while the tool is active); ⇧-click adds another area, ⌥-click selects the whole salient object Vision finds there (a person, a prop), and the brush refines the result. M shows the mask in red. [ and ] change the brush size.
- Masks are stored on the uncropped image, so they stay in place when you crop or rotate, and they export with the image. Looks and presets do not carry layers.
- Where two layers overlap, the upper layer's adjustment is shown; layers do not add up.
- Everything about layers is in the Layers tool: each layer is a card with its mask thumbnail, the tools it uses (switch off, remove, add from the menu), Add Tool and a Mask menu (create from image, reveal / hide all, brush, gradients, invert, luma range, display, delete); the Background card lists its tools the same way; below the cards are the selected layer's opacity, feather, luma range and brush settings. Right-click a layer card to rename, move or delete it. ⇧⌘T opens the same tool as a floating panel.