Editing a Shot
Browsing is instant and never touches the original; editing loads the RAW when you ask for it.
Browsing
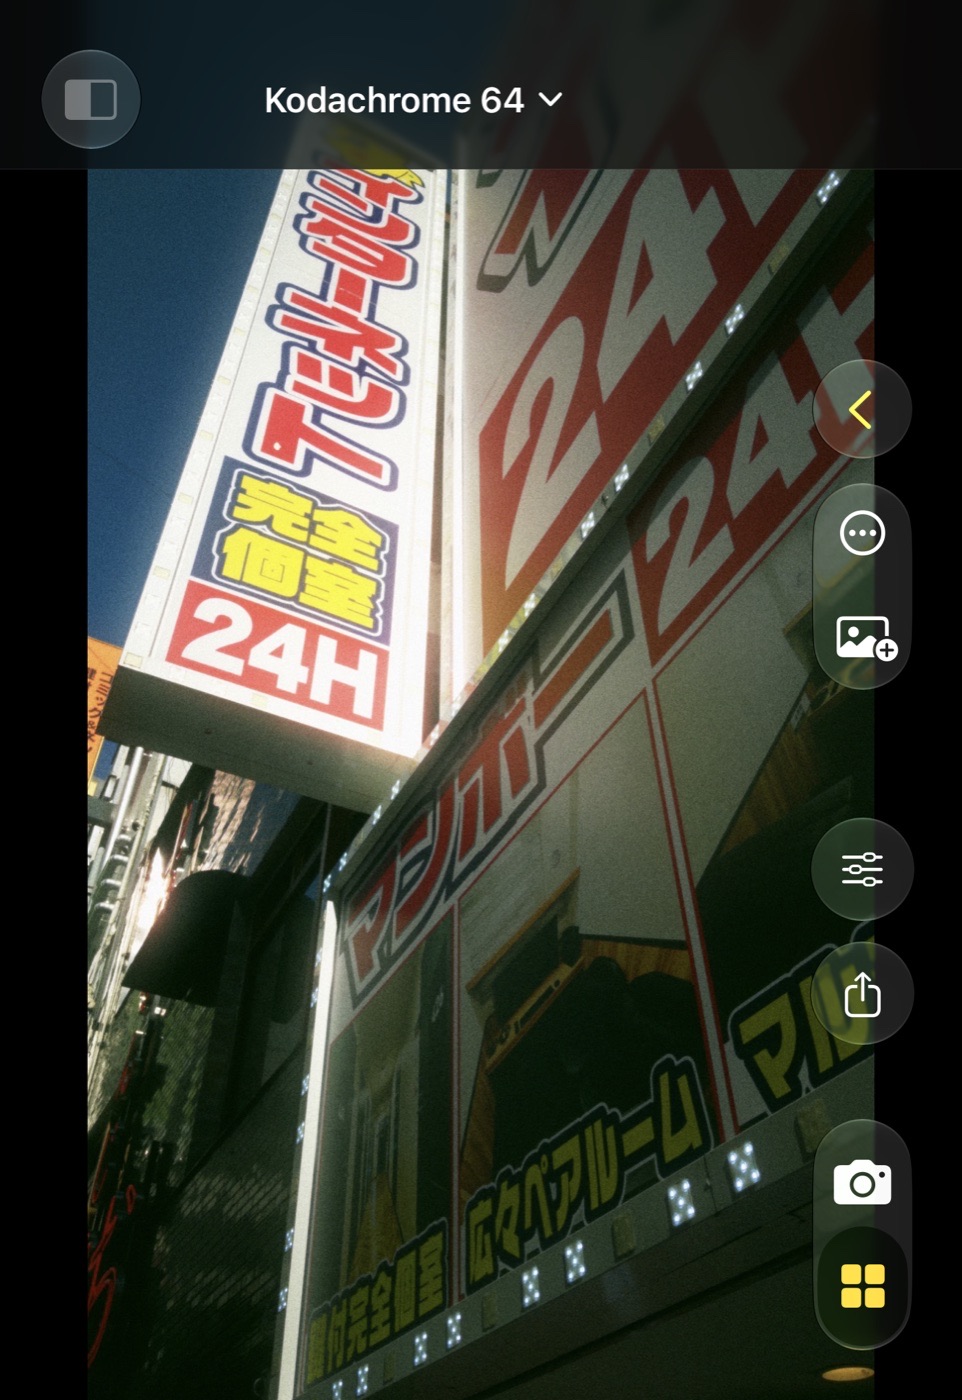
Opening a shot shows its screen-size preview at once. Swipe left and right to move through the gallery you are browsing; the neighbours slide in under your finger, like Photos. Pinch to zoom, swipe down to return to the grid.
The title is the shot's look; tap it to pick another, which starts editing. The back chevron returns to the grid. The ⋯ menu holds Copy Settings, Paste Settings, Share, New Variant and Remove from Gallery.
Editing
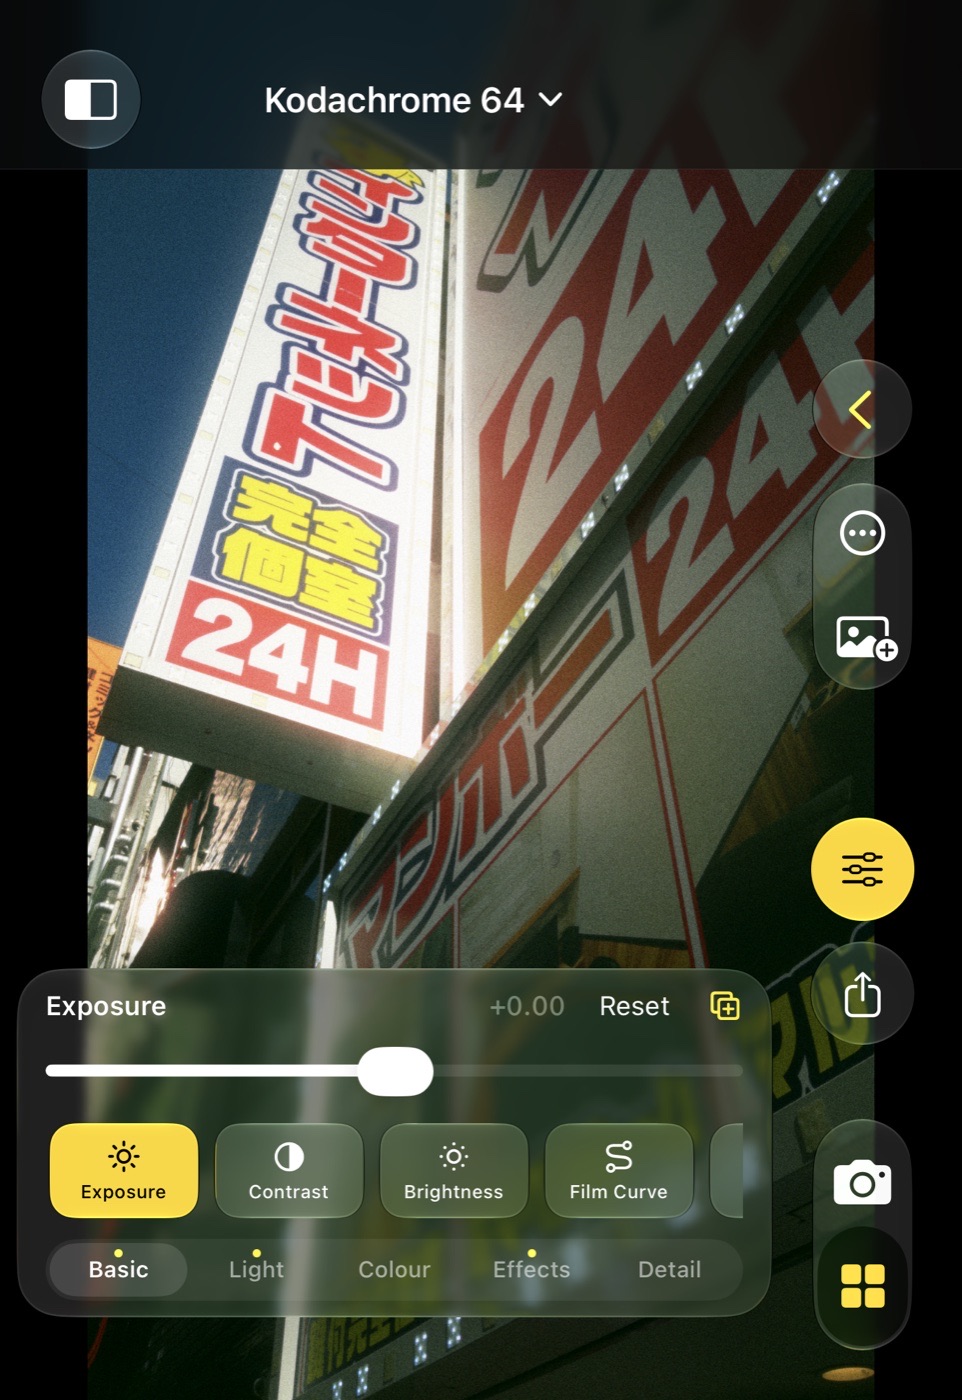
The sliders button, choosing a look, or Save loads the original: the RAW from Photos, or the camera's kept frame for Native shots, with the shot's match, framing and adjustments. The live render replaces the preview and the adjustments panel opens.
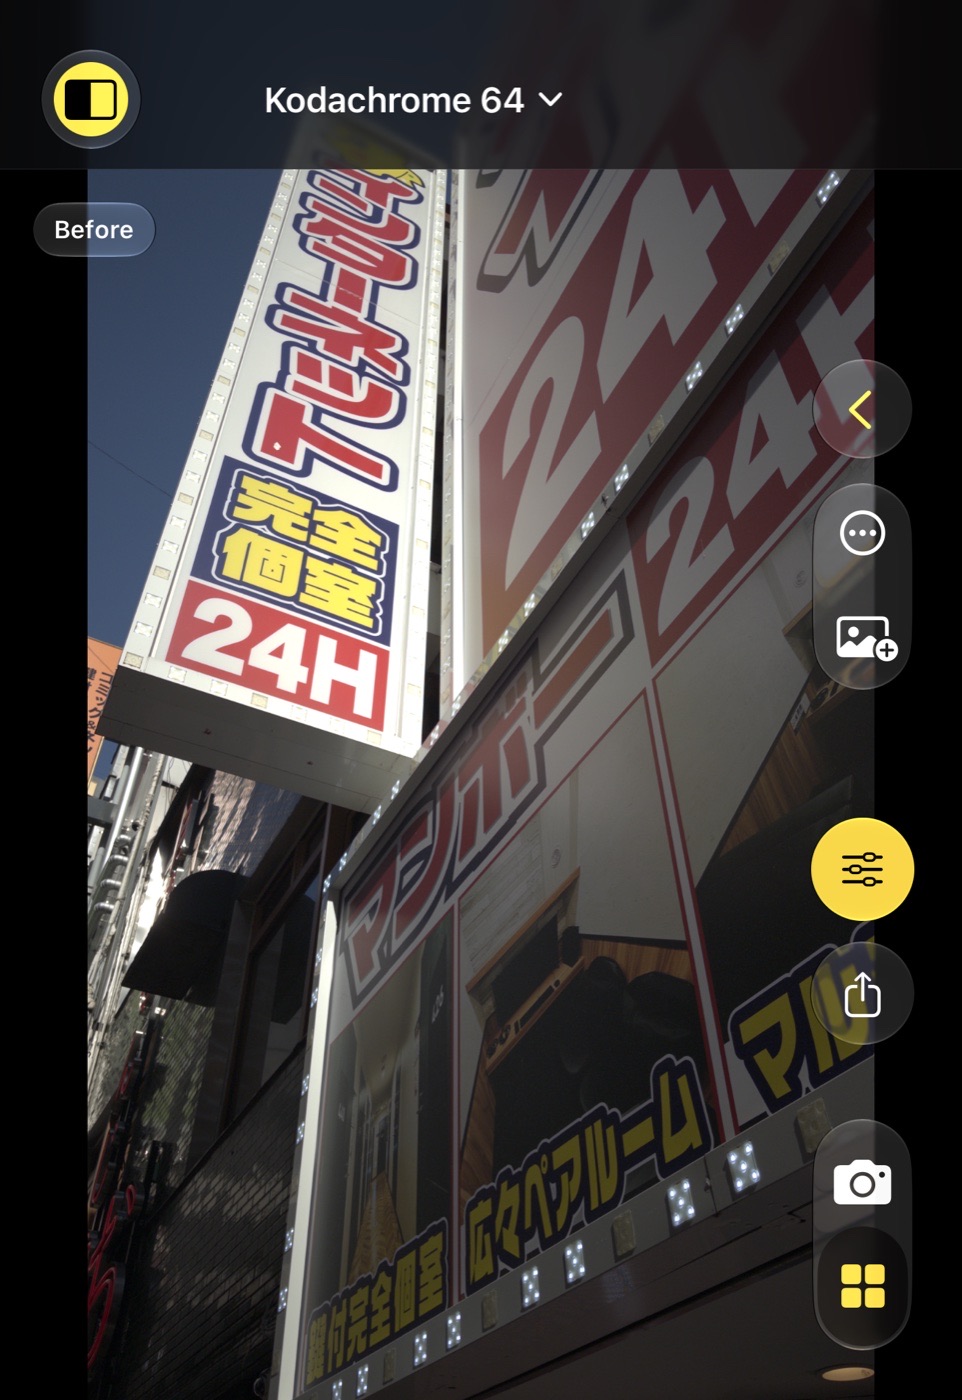
Hold the before/after button at the top left to see the shot without the look. Everything you change is written back to the shot as you go: the look, the adjustments, a fresh thumbnail and preview. Swiping to another shot leaves editing.
Crop and rotate
The crop button (next to the sliders) opens the whole frame: every shot keeps it, since the DNG is the full sensor frame and a Native shot keeps the camera's whole picture. The cut you shot with sits on it as a white frame; drag inside to move it, a corner to resize it, a side when the ratio is Free. The bar underneath has the ratios (tap the chosen one again to turn it upright or sideways), the straighten slider (a tick at zero), a 90° turn, Reset back to the cut as shot, Cancel and Done. The frame never leaves the picture: straightening shrinks it instead of leaving empty corners.
Done writes the framing to the shot: the grid, the preview, Save and Share all use it, and the DNG stays the whole frame, so you can reframe again any time.
Saving and sharing
Save renders the shot at full size with its look and adds a new picture to Photos, dated now so it sits with today's pictures, with the capture's camera, lens and exposure tags carried over. The ⋯ menu's Share hands the picture and the DNG to the share sheet. Export sizes are described under Export.
The adjustments panel
A glass card with the adjustment's name and value, one slider, a row of chips for the section and a row of sections. A yellow dot on a chip, and on a section name, means it differs from the look. Double-tap the value to put that one adjustment back; Reset puts the whole shot back to its look; the save icon keeps the current state as a new look.
Good to know
- The panel reopens on the section and chip you left.
- Edits are kept per shot. Copy and paste them between shots from the ⋯ menu or the grid.