Getting Started
Three steps: choose a look, shoot, and find the shot in the Gallery.
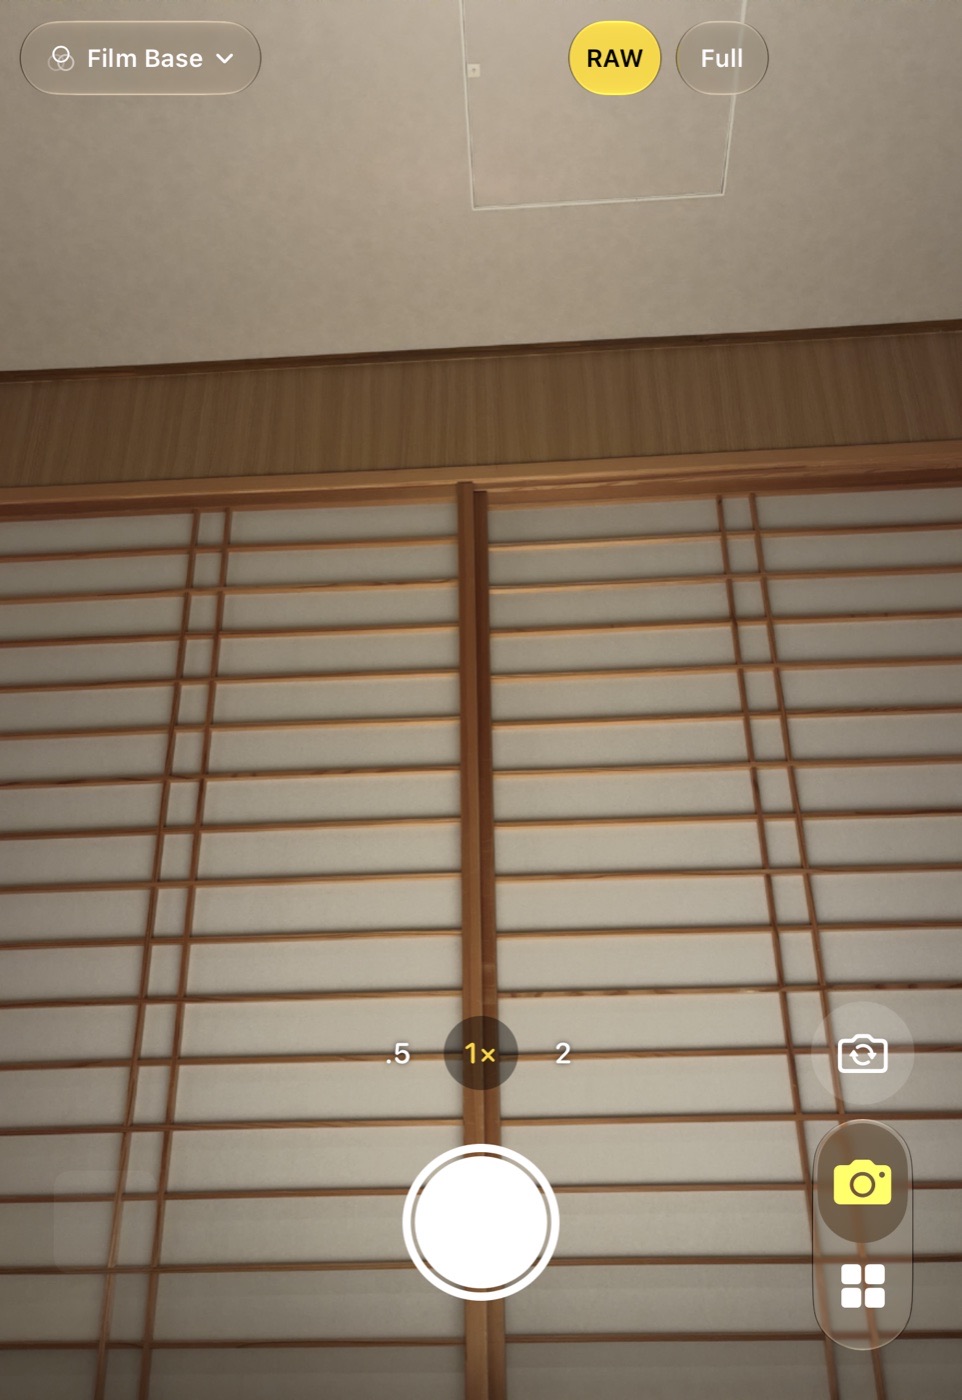
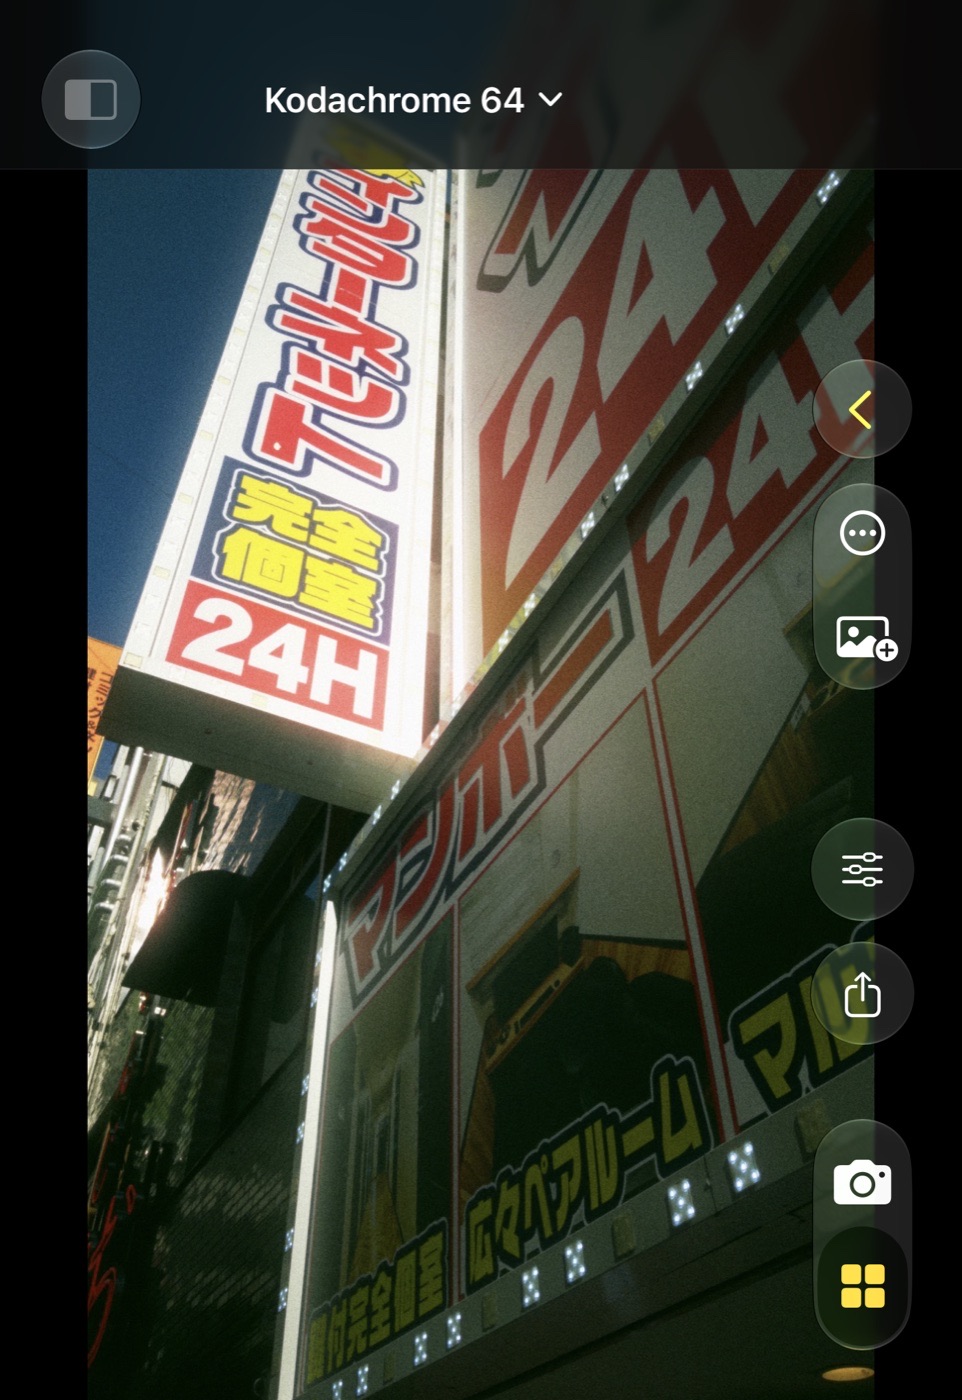
1. Allow the camera and Photos
On first launch the app asks for the camera. The first time it saves, it asks to add to Photos. The first time you open a shot's RAW from the Gallery, it asks to read Photos, which is how it reaches the DNG attached to a picture. When the camera first appears it also asks for your location, used only to tag where a shot was taken; decline it or turn off Save Location in Settings and nothing is recorded.
2. Shoot
The camera always shoots Native: the camera's own rendering, nothing added. Looks are chosen afterwards, in the Gallery editor, and applied to that very frame; there is nothing to pick before the shot.
Tap the shutter. The picture is saved to Photos as the camera's frame, with the Bayer DNG attached when RAW is on. You can keep shooting while the previous shot is still being saved.
3. Find it in the Gallery
Tap the thumbnail at the bottom left of the camera to open the last shot, with whatever look and adjustments you have given it since; once that shot is older than ten minutes, or you have left the app in between, the same tap goes to the Gallery grid instead. Open a shot to see it large, tap the sliders button to adjust it, swipe down to come back.
The two screens of a foldable
On a foldable iPhone the app works on both screens and in both orientations. Where iOS keeps a strip at the side for the status bar and the tab buttons, the picture runs under it and the controls stay clear of it; the selfie button moves into that strip, level with the lens row.